Repotting Your Houseplants This Spring
Spring is the perfect time to give your houseplants a fresh start. Follow these steps for successful repotting.
1. Choose the right time
- Repot in early spring , when plants come out of dormancy and resume growth.
- Look for signs that repotting is necessary:
- Roots coming out of drainage holes
- Soil that dries too quickly or remains soggy
- Slow growth despite good conditions
- Plant that appears cramped or whose roots form a dense mass
2. Select the right pot
- Choose a pot 2 to 5 cm larger than the current one.
- Make sure the new pot has drainage holes to prevent waterlogging and root rot.
- Choose suitable materials:
- Terracotta : Ideal for plants that like good drainage (cacti, succulents).
- Plastic : Retains moisture better, perfect for tropical plants.
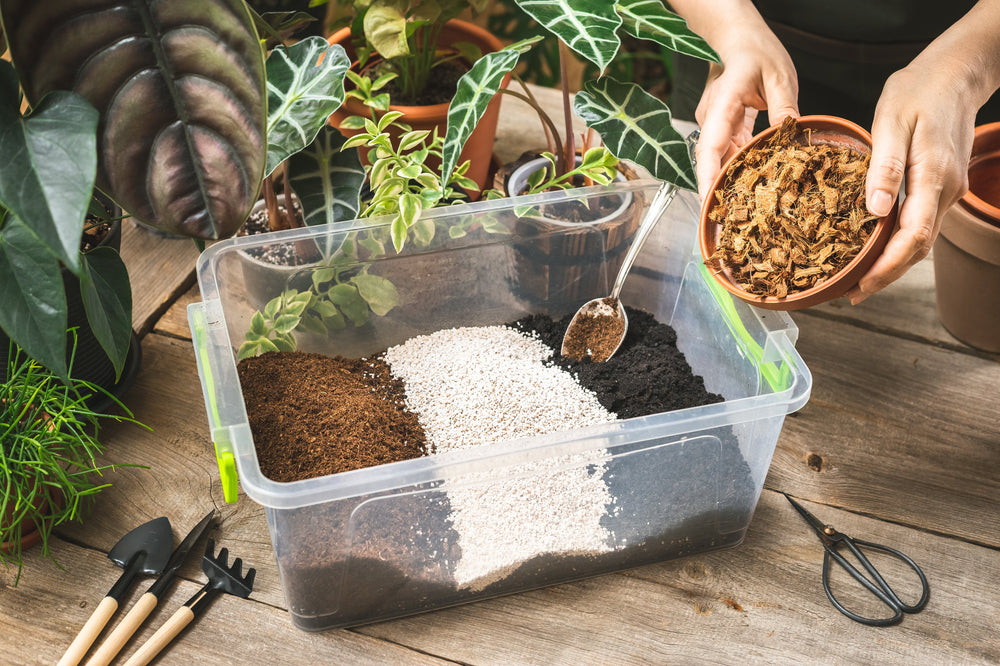
3. Prepare a good substrate
- Use a potting soil mix that is suitable for your plant:
- Tropical plants : Rich potting soil with perlite and coconut fiber for aeration.
- Succulents and cacti : Very draining mix with sand and perlite.
- Epiphytic plants (orchids) : Aerated substrate based on pine bark.
- Araceae plants (Philodendron, Monstera, Alocasia, Syngonium, etc.) : Rich, well-draining mixture composed of potting soil, perlite, bark and coconut fiber.
4. Remove the plant carefully
- Tap the pot lightly to loosen the plant without damaging the roots.
- Gently untangle the roots if they are too coiled or compacted.
- If necessary, trim dead or damaged roots with clean scissors.
5. Install and water
- Place a layer of potting soil at the bottom of the new pot.
- Place the plant in the center and add substrate around the roots, without packing it too much.
- Water lightly to help the plant settle in.
6. Monitor the recovery
- Place the plant in a bright spot but out of direct sunlight for a few days.
- Avoid fertilizing for 2 to 4 weeks , allowing the plant to adjust.
- Monitor soil moisture and adjust watering as needed.
🌿 Need advice? Come to the store!